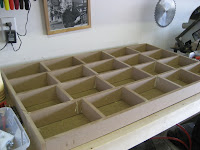
 It’s been a busy weekend and I got quite a bit of work done on the machine. I completed the lower torsion box as well as completed the adjustment blocks.
I’ll be posting a bill of materials, but for those that are interested I started this project with a 4×8 sheet of 1/2 MDF from local Menards as well as 4×8 sheet of 3/4 MDF (about $35 total). After cutting the parts, I have plenty left over for testing the 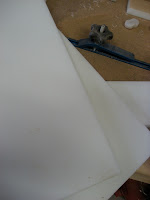 machine. As others have suggested on the CNC Zone, I made the adjustment blocks out of cutting board material.
I found a great deal on scrap material from The Cutting Board Factory’s Specials Page. This was a great site and they delivered exactly what I needed with lots to spare for about $20.
Cutting the MDF was pretty easy. Just took my time and carefuly cut all of the pieces in the plan with a table saw. Having a table saw makes this a pretty quick process, but the great thing about this plan is it can easily be done with a few clamps, good straight edge, and a circular saw.
I also cut the HDPE (Cutting board) material on the table saw as well. To make the Adjustment blocks I carefully measured, marked, and center punched all of the holes. In retrosp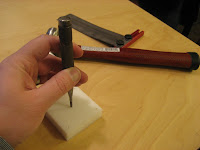 ect this was wasted work as eventually I just went to my Dad’s house and used his Drill Press. Having a drill press makes this really easy as you can setup the fence so that you can just slide the part in and drill all the repetitive holes quickly. If you don’t have access to a drill press,
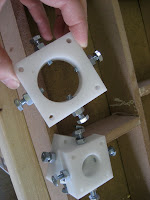 I suggest you carefully measure and center punch the holes so you drill doesn’t wander much.
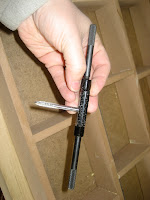
According to the plans I tapped all of the Adjustment holes with a tap and die set that I bought at the local Harbor Freight. This was a really inexpensive kit and it has paid for itself the very first use. I was able to buy all the bolts and nuts at my local Menards, but also considered buying them at Bolt Depot.
Please check back often as I’ll be posting more pictures and things I’ve learned along the way.